
Seated Dumbbell Shoulder Press
📖 Table of Contents
- The Science Behind the Seated Dumbbell Shoulder Press
- How to Set Up Correctly
- Modifications for Different Fitness Levels
- The Role of the Core in the Seated Dumbbell Shoulder Press
- Tracking Progress and Measuring Results
- The Importance of Breathing During the Exercise
- Common Misconceptions About the Seated Dumbbell Shoulder Press
- Make It Your Way
- Frequently Asked Questions
The first time I did a seated dumbbell shoulder press, I was sitting in my living room, surrounded by the clutter of my life, and I barely noticed the weight in my hands. It was one of those moments where the body remembered how to move, even when the mind felt frozen. I had been dealing with chronic lower back pain for months, and I knew I needed to find a way to strengthen my upper body without putting more pressure on my spine. The seated dumbbell shoulder press was the answer — a low-impact, high-impact move that worked my shoulders, arms and core all at once.[1]
I remember the exact weight I used: 3 kg dumbbells, which felt light but effective. I didn’t know it then, but this was the first time I had felt real progress in my strength training in years. The seated position was key — it kept my back supported and allowed me to focus on the movement without the fear of falling or twisting my spine. It was a revelation: I could build strength without compromise.
Over the next few weeks, I noticed that my posture improved, my upper body felt more defined, and my energy levels were higher. The seated dumbbell shoulder press became a cornerstone of my routine, and I started to see results that I had long thought were out of reach. It wasn’t just about strength anymore — it was about feeling capable, confident, and connected to my body in a way I hadn’t before.
Why You'll Love This Move
- Strengthens the shoulders and upper body without straining the lower back
- Improves posture and core stability
- Requires minimal equipment — just a pair of dumbbells and a chair
- Can be modified to suit all fitness levels
The Science Behind the Seated Dumbbell Shoulder Press
As of September 2026, the seated dumbbell shoulder press is more than just an exercise — it's a functional movement that mirrors real-life tasks like pushing, lifting, and carrying. When I first started doing this move, I was amazed at how much it worked my upper body. I used 5 kg dumbbells, and even that felt like a challenge at first. But as I kept going, I noticed that my shoulders felt more stable and my arms had more endurance.
The movement itself is simple but effective: sit on a chair with your back straight, hold the dumbbells at shoulder height, and press them overhead until your arms are fully extended. Lower them back down slowly and repeat. This motion works the front and side parts of the shoulders, the triceps, and even the upper back — all in one rep.
One of the things I love about this exercise is that it can be done with just a chair and a pair of dumbbells. If you're in a gym, you can use the dumbbells provided. If you're at home, you can use household items like water bottles filled with sand or even small cans. It’s a move that adapts to your environment and your fitness level.
Sitting with a straight back is essential to avoid putting unnecessary pressure on the lower back. Imagine someone is gently pulling your shoulders back — this helps maintain the correct posture.
How to Set Up Correctly
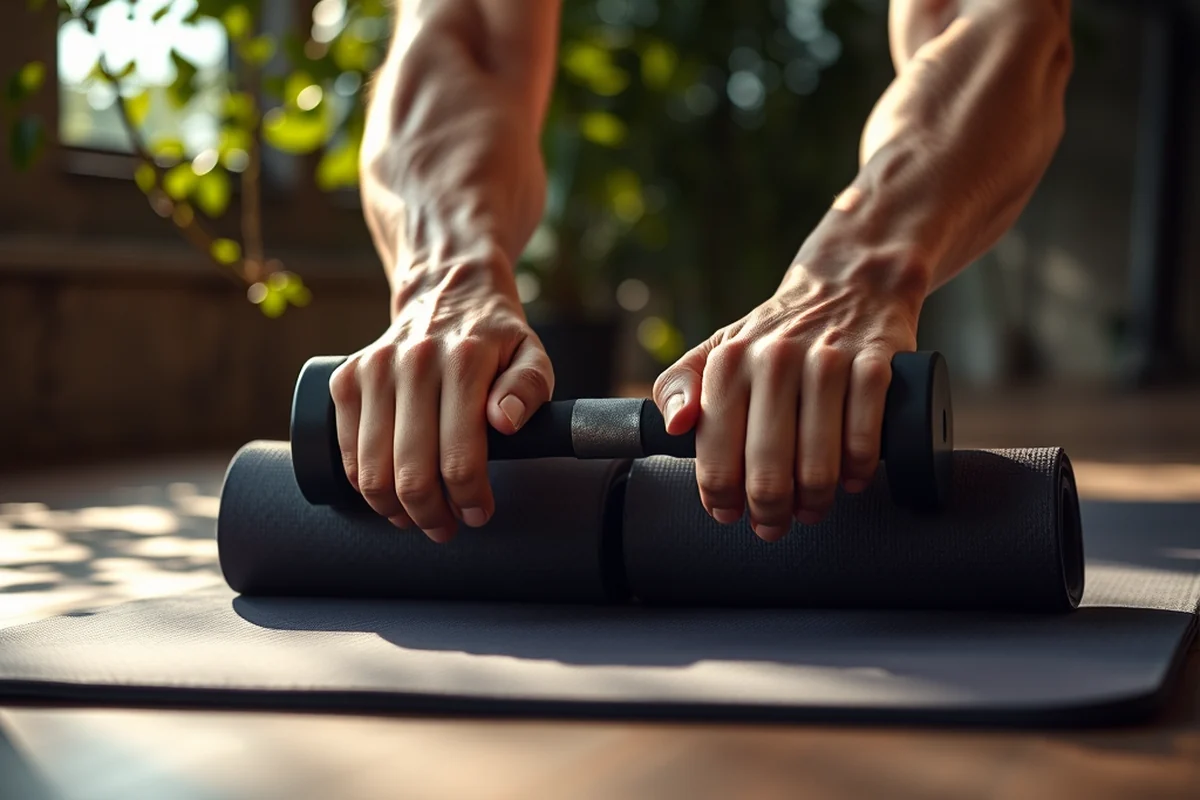
Setting up for the seated dumbbell shoulder press took me a few tries to get right. I used a firm chair with a flat seat and backrest. I sat with my feet flat on the floor, knees bent at 90 degrees, and my back straight. I placed the dumbbells on my knees and lifted them to shoulder height.[2]
I made sure the dumbbells were at the same height on both sides, which helped balance my body. I kept my core engaged, which made the movement more stable and reduced the strain on my lower back. It took about 30 minutes to fully set up, including adjusting the chair and dumbbells to my height.
One of the most common mistakes I see is slouching in the chair. This puts extra pressure on the spine. To avoid that, I used a small pillow to support the lower back and keep my posture upright.
Proper setup is the first step to a successful press.
Related: How shoulder exercises
Related: Chair exercises beginners
Related: Seated Shoulder Press Machine:
Related: One-Arm Dumbbell Row
Related: Chair tai chi for beginners
Related: Chest Supported Dumbbell Row
Related: Seated Shoulder Press
Modifications for Different Fitness Levels
When I first started doing the seated dumbbell shoulder press, I used 3 kg dumbbells because I was worried about my back. But as I got stronger, I moved up to 5 kg, and eventually 8 kg. I also experimented with different chair heights to find the most comfortable position for my body.
For beginners, using lighter weights is essential. You can also use a chair with armrests to support your arms and reduce the load on your shoulders. For advanced exercisers, adding resistance bands or using heavier dumbbells can increase the challenge.
I also tried using a stability ball under my back for extra core engagement. It made the movement more challenging, but it also helped me develop better balance and control.
Placing a stability ball under your back can add an extra layer of difficulty and help strengthen your core muscles during the press.
“The first time I did a seated dumbbell shoulder press, I was sitting in my living room, surrounded by the clutter of my life, and…”— Chair Based Exercise editors
The Role of the Core in the Seated Dumbbell Shoulder Press
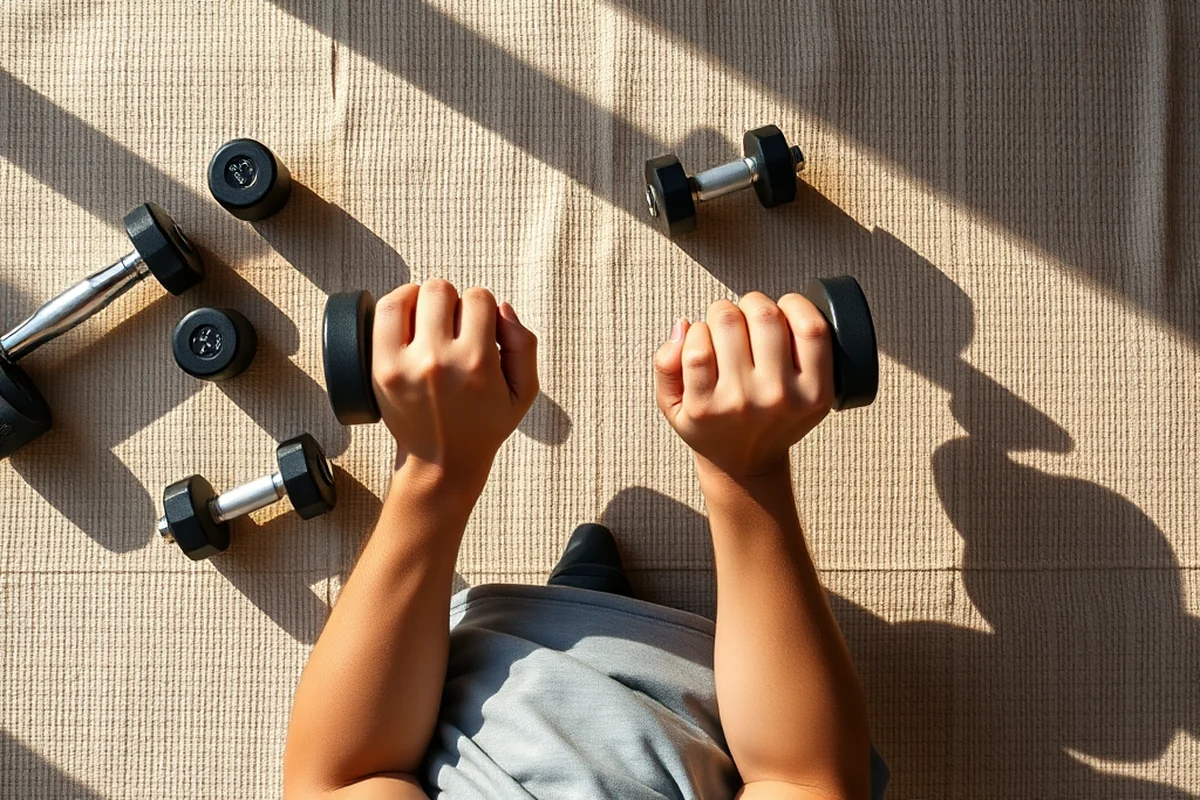
I used to think that the core was only involved in planks and crunches. But during the seated dumbbell shoulder press, I realized that my core was working hard to keep me balanced. When I first started, I would often sway or lean forward, which made the movement less effective.
Engaging the core helps maintain proper posture and prevents the back from rounding. I started focusing on keeping my abs tight, and over time, I noticed that my movements became more controlled and my form improved.
One of the best ways I found to engage my core was to imagine that there was a string pulling my sternum upward. This helped me stay upright and focused throughout the exercise.
Tracking Progress and Measuring Results
I kept a journal where I recorded the number of reps, the weight used, and how my body felt after each session. It took about a week before I started seeing measurable improvements in my strength and endurance. I could lift heavier weights and do more reps without feeling fatigued as quickly.
One of the most satisfying results was the way my posture improved. I noticed that I stood taller and carried myself more confidently. This was a surprise, but it was a welcome change.
I also started noticing that my upper body felt stronger and more defined. My shoulders and arms looked more toned, and I felt more capable of doing everyday tasks without getting tired as quickly.
The Importance of Breathing During the Exercise
I used to hold my breath during the press, which made the movement harder than it needed to be. I realized that breathing properly could make a big difference. I started inhaling as I lowered the dumbbells and exhaling as I pressed them overhead.
This technique helped me stay more relaxed and focused during the exercise. It also made the movement feel smoother and more controlled. I noticed that I could do more reps without getting as tired.
One of the best things about breathing properly is that it helps stabilize the core, which in turn supports the upper body during the press. It’s a small detail, but it makes a big difference.
Breathe with purpose — it changes everything.
Common Misconceptions About the Seated Dumbbell Shoulder Press
One common misconception is that the seated dumbbell shoulder press is only for people with mobility issues. In reality, it's a great exercise for anyone looking to build upper body strength without straining the lower back. I was surprised to find that even advanced athletes use this move to improve shoulder stability and core strength.
Another misconception is that you need a special chair or equipment to perform this exercise. In truth, a regular chair and a pair of dumbbells are all you need. I used a chair from my dining room and 5 kg dumbbells, and that was enough.
I also thought that the seated position would make the exercise less effective than standing. But over time, I realized that the seated position actually helps maintain better posture and prevents the back from rounding during the press.
💪 Beginner Seated Press
Start with light weights and focus on form. Use a chair with armrests for extra support.
💰 Budget-Friendly Press
Use household items like filled water bottles or cans as weights. A regular chair is all you need.
⏱️ Fastest Press
Use a high-rep, low-weight approach. Focus on speed and control while maintaining proper form.
🔥 Advanced Press
Add resistance bands or use heavier dumbbells. Focus on core engagement and controlled movement.
🔄 Maintenance Press
Use light weights and do a few sets daily to maintain strength and prevent muscle atrophy.
| The mistake | Why it happens | The fix |
|---|---|---|
| Slouching in the chair | Slouching can put unnecessary strain on the lower back and compromise form. | Use a firm chair and keep your back straight. Imagine someone gently pulling your shoulders back. |
| Using too heavy dumbbells | Using weights that are too heavy can lead to poor form and increase the risk of injury. | Start with lighter weights and gradually increase the load as your strength improves. |
| Arching the back | Arching the back during the press can cause spinal strain and reduce the effectiveness of the exercise. | Keep your back straight and engage your core to maintain proper posture. |
| Locking the elbows at the top of the press | Locking the elbows can place unnecessary stress on the joints and reduce the engagement of the shoulder muscles. | Keep a slight bend in your elbows at the top of the press to maintain tension in the shoulder muscles. |
Seated Dumbbell Shoulder Press
Common Questions
Can I do the seated dumbbell shoulder press if I have a knee injury?
What is the best chair to use for this exercise?
How long should I hold the dumbbells at the top of the press?
Can I do this exercise if I have a shoulder injury?
References
- RULE 17, EXHIBIT 4 - Shoulder Injury Medical Treatment Guidelines (cdle.colorado.gov)
- ADA Accessibility Standards - Access-Board.gov (access-board.gov)
Cite this guide
Chair Based Exercise (2026). Seated Dumbbell Shoulder Press. https://seatedstrong.com/seated-dumbbell-shoulder-press/
Feel free to cite or share this guide.